Many homeowners attempt painting cabinets themselves to save money or achieve a custom look. The idea seems straightforward: sand, prime, paint, and voila—brand-new kitchen cabinets. In reality, cabinet painting is far more complex than painting walls. It demands precision, the right materials, and specialized techniques that even confident DIYers often underestimate.
The five most common errors can ruin finishes, waste time, and even decrease your kitchen’s value. This guide exposes those “fatal errors” and shows how professional painters prevent them through proper surface prep, product selection, and paint system knowledge.
Key Takeaways:
-
Cabinet painting requires different prep, primers, and paints than walls.
-
Professionals use industrial-grade coatings for smooth, factory-level finishes.
-
Humidity, temperature, and material type all affect adhesion and durability.
-
Avoiding these five critical mistakes can extend the life and appearance of your cabinets by years.
-
Sometimes, hiring a professional cabinet painting service, such as Oakcliff Painting in Buckhead, GA, saves money in the long run.
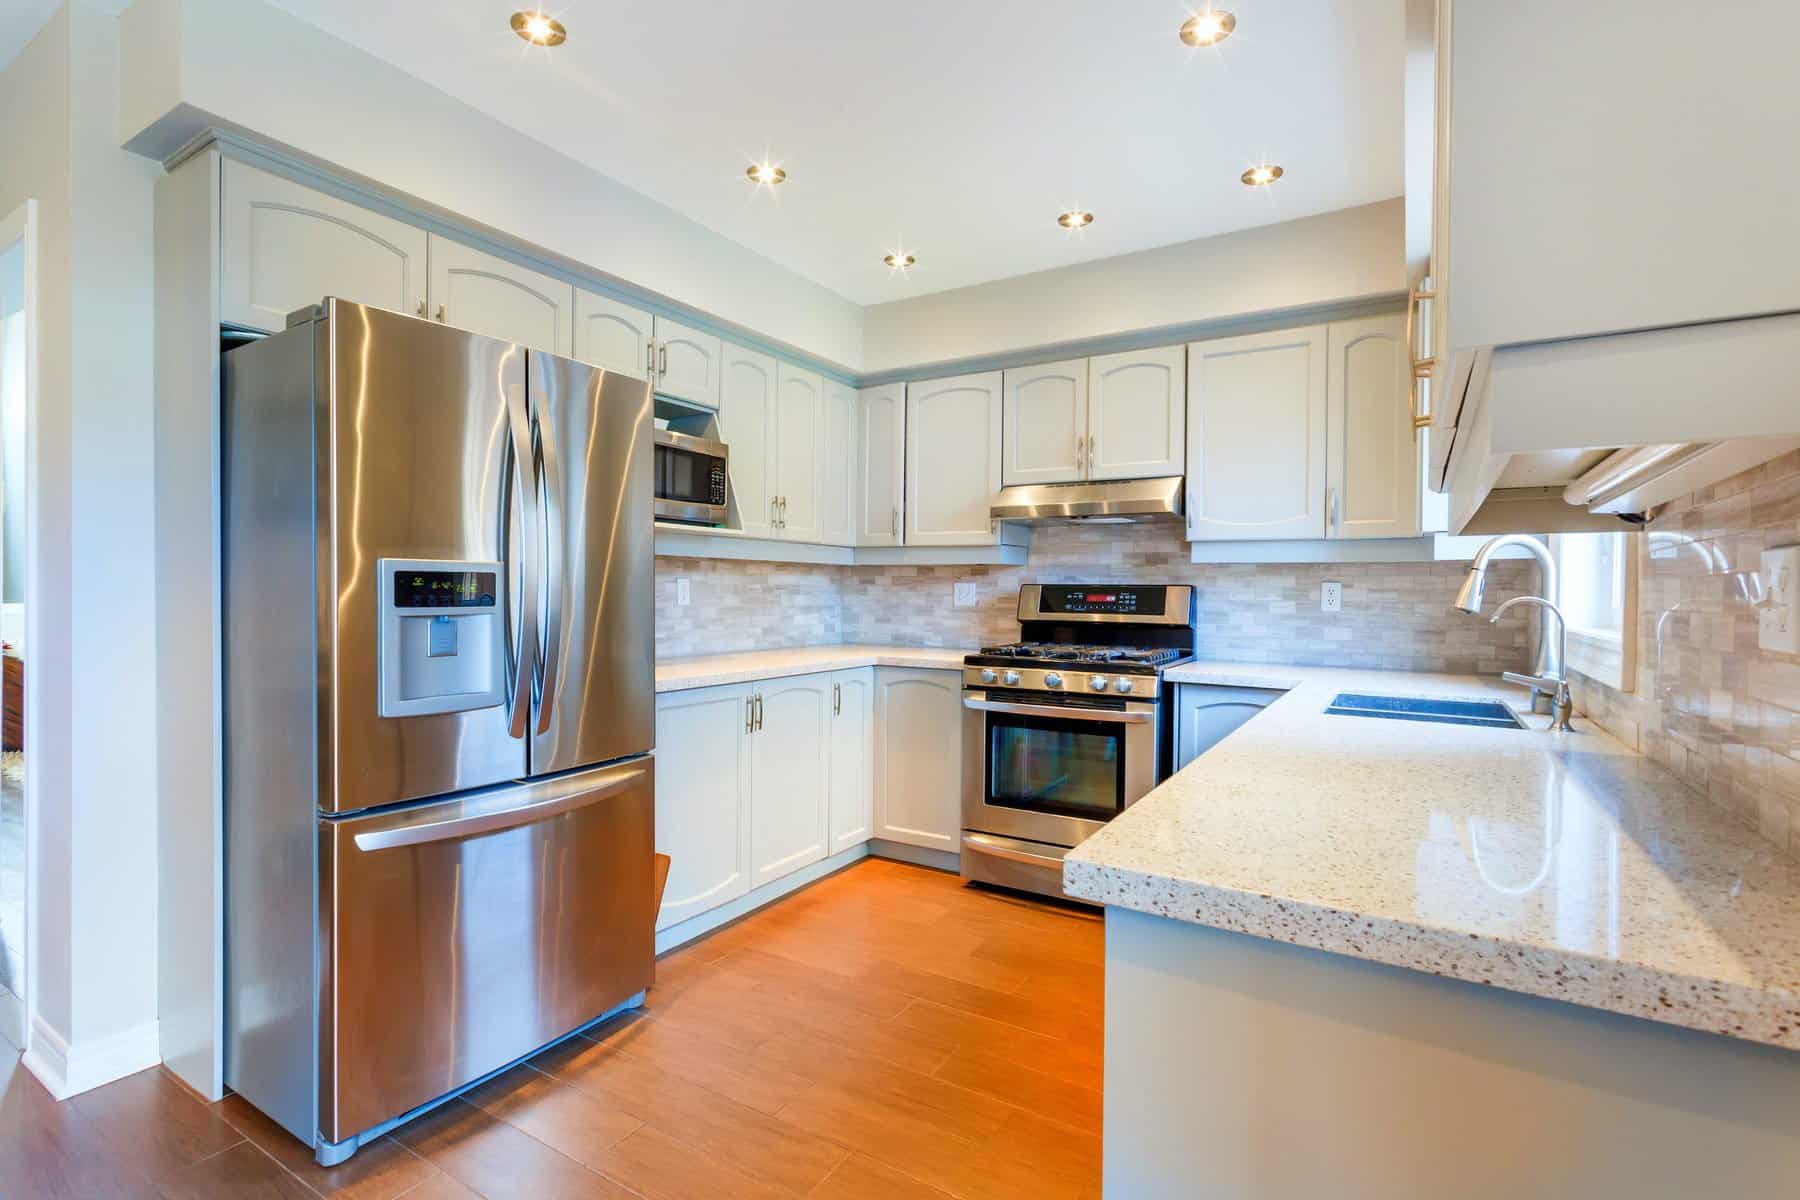
Understanding the Challenge of Painting Cabinets
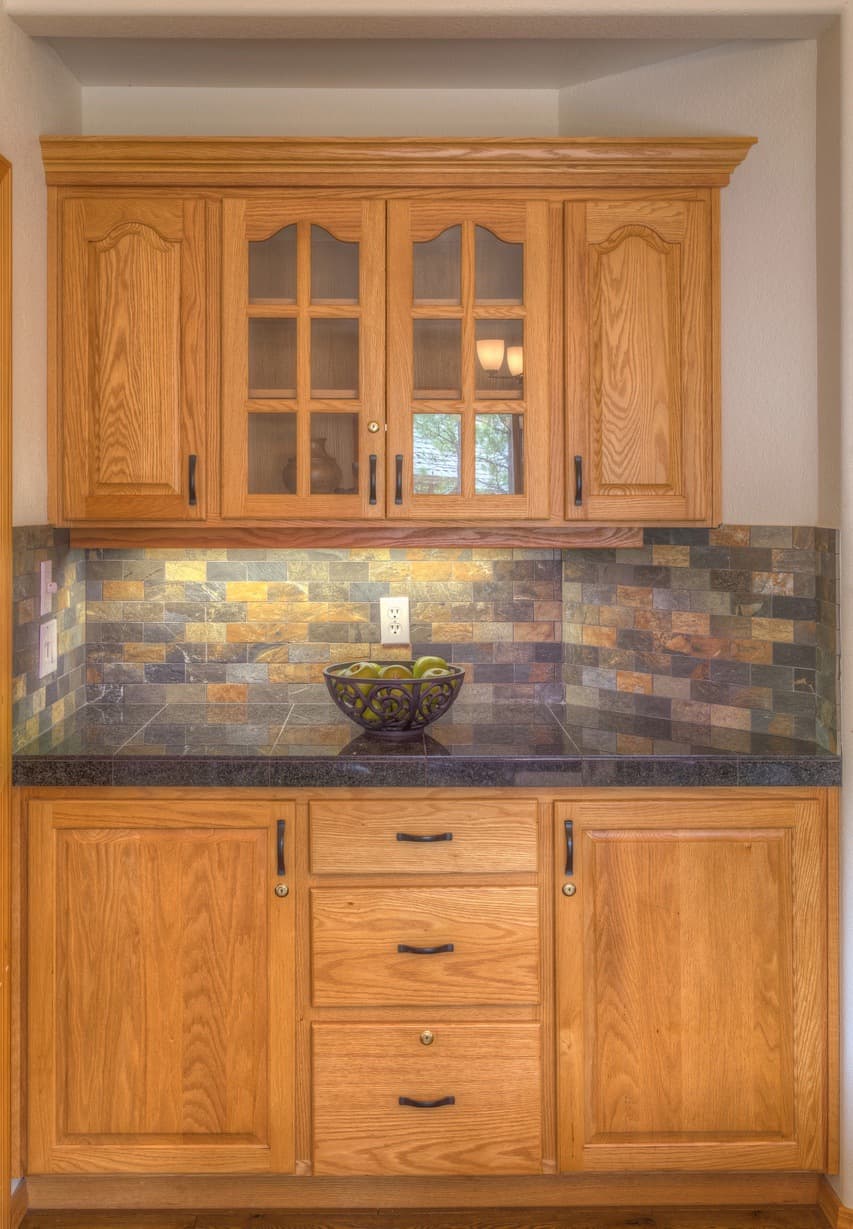
Cabinets are high-touch, high-traffic surfaces prone to grease, moisture, and frequent cleaning. Unlike walls, which are forgiving, cabinets require precise surface prep. Paint adhesion depends on degreasing, sanding, priming, and selecting a paint compatible with the substrate.
Professional painters often use urethane-modified alkyds or pre-catalyzed lacquers, not typical wall latex paint. Skipping even one prep step—like degreasing or priming—can lead to peeling, bubbling, or uneven finishes.
Here’s a quick comparison to illustrate why painting cabinets is more technical than wall painting:
| Aspect | Walls | Cabinets |
|---|---|---|
| Surface Type | Drywall (porous) | Wood, MDF, laminate (non-porous) |
| Prep Needs | Light sanding | Degreasing, full sanding, deglossing |
| Primer Type | General-purpose | Bonding or shellac-based primer |
| Paint Type | Latex wall paint | Urethane, alkyd, or enamel |
| Durability Needs | Low to moderate | High (abrasion, moisture) |
Fatal Error #1: Skipping the Degreasing and De-Glossing Step
Many homeowners skip degreasing entirely, thinking sanding is enough. However, cabinets accumulate years of oils, cooking residues, and silicone polishes that repel paint. Without proper cleaning, even the best primer won’t adhere.
Pro Tips:
-
Use trisodium phosphate (TSP) or specialized degreasing agents.
-
De-gloss surfaces with liquid sandpaper, especially factory-finished cabinets.
-
Some products require a 24-hour cure time before priming—rushing this step can compromise adhesion.
If you’ve already painted over greasy or glossy surfaces, the fix is to strip or sand off the failed paint, then reapply a bonding primer over a properly cleaned surface. For professional results, Oakcliff Painting in Buckhead specializes in ensuring degreasing and de-glossing are done correctly before any cabinet painting begins.
Fatal Error #2: Using the Wrong Primer or Skipping It Entirely
Skipping primer is one of the most common reasons cabinet paint fails. Cabinets need a bonding primer like Zinsser BIN Shellac, Insl-X Stix, or Benjamin Moore Advance Primer to adhere to slick surfaces. A primer also seals tannins and prevents bleed-through from woods like oak or mahogany.
Professionals often apply two light coats of primer, sanding between each, to ensure perfect bonding. Without primer, the paint remains soft, scratches easily, and chips along edges.
Fix: Sand flaking areas, spot-prime with a bonding primer, then recoat with a durable enamel. The right primer and technique can dramatically increase the lifespan of your cabinet painting project.
Fatal Error #3: Choosing the Wrong Paint Type or Finish
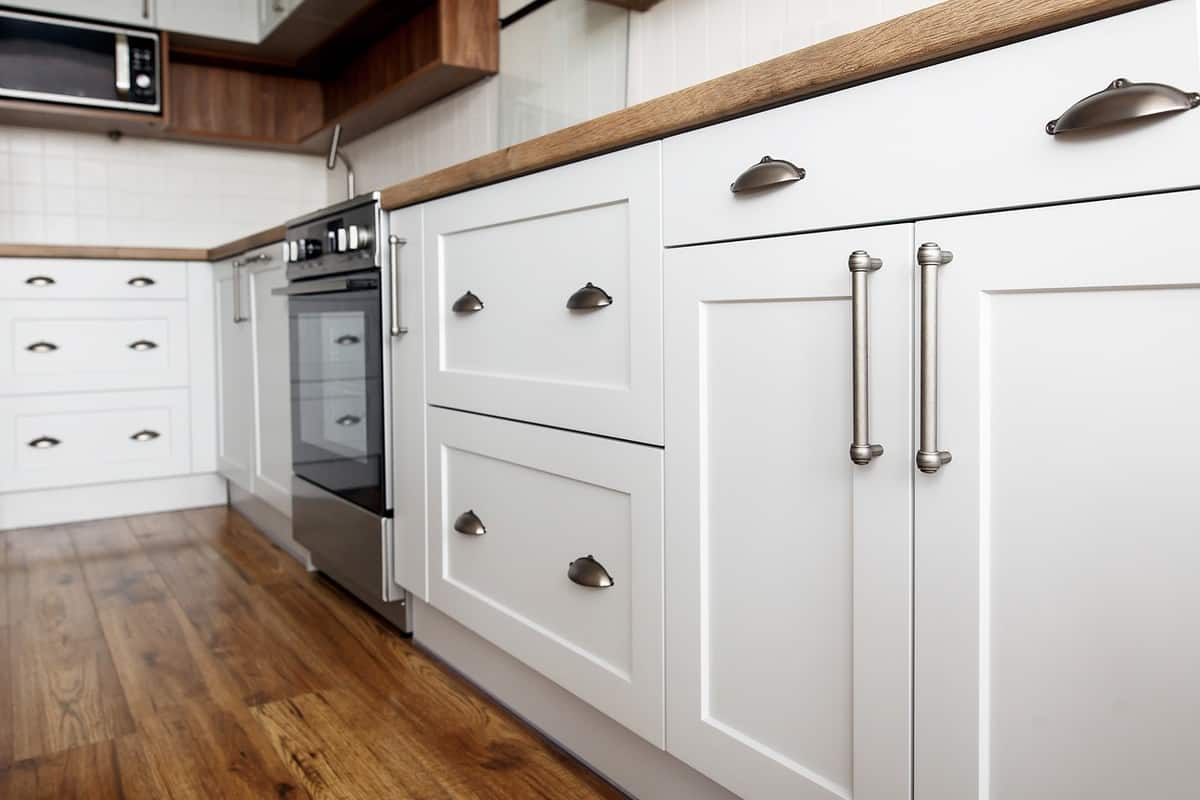
Homeowners frequently use interior wall paint for cabinets, which never cures properly on high-use surfaces. The right paint makes a significant difference in durability and appearance.
Professional-grade options include:
-
Urethane-modified alkyds
-
Conversion varnishes
-
Acrylic enamels with hard-curing finishes
Finish Selection:
-
Gloss or satin sheens hide fingerprints and are easier to clean than matte finishes.
-
Semi-gloss is ideal for high-traffic kitchens.
Product Tip: Brands like Sherwin-Williams Emerald Urethane Trim Enamel, Benjamin Moore Advance, and PPG Break-Through! offer professional-level adhesion and leveling. Maintaining a controlled environment between 60–80°F with moderate humidity ensures proper curing.
Fix: Lightly sand and repaint with the correct enamel or alkyd system after reapplying primer. Professional cabinet painting services, like Oakcliff Painting in Buckhead, manage temperature, humidity, and product selection to avoid sticky surfaces or uneven sheens.
Fatal Error #4: Rushing the Drying and Curing Process
Many homeowners assume that once paint feels dry, it’s safe to reattach hardware or use the cabinets. In reality, drying and curing are distinct stages.
-
Drying is the surface-level set; paint may feel dry in a few hours.
-
Curing is the chemical hardening process, which can take 7–30 days depending on product, humidity, and temperature.
Professionals use curing racks, air circulation, and temperature control to guarantee consistent hardening. Reattaching doors too early can leave imprints, peeling, or fingerprints.
Fix: If premature reattachment has caused damage, sand gently, touch up with the same product, and allow a full cure period before reinstalling hardware. Learn more about proper coats of paint and their impact on cabinet durability.
Fatal Error #5: Skipping the Final Sanding and Topcoat Stage
Skipping mid-coat sanding and topcoats can leave rough texture, visible brush marks, and uneven sheen. Professional painters lightly sand between coats with fine-grit paper (220–320) and apply a protective topcoat.
Topcoat Benefits:
-
Adds protection against scuffs and yellowing
-
Enhances color depth and sheen consistency
-
Increases durability for high-traffic kitchens
Professionals often use HVLP (High Volume Low Pressure) sprayers to achieve a factory-smooth finish. Waterborne polyurethane or urethane enamel top layers can double the durability of your cabinet paint.
Fix: Lightly sand, remove dust, and apply a thin final coat using proper technique or sprayer application.
Professional vs. DIY Cabinet Painting Results
| Category | DIY Attempt | Professional Service |
|---|---|---|
| Surface Prep | Basic sanding | Degreasing, deglossing, sanding, dust removal |
| Primer Used | Standard latex primer | Shellac-based or bonding primer |
| Paint Type | Wall latex | Enamel or urethane-modified alkyd |
| Application Tools | Rollers and brushes | HVLP sprayers for uniform finish |
| Drying Time | Often rushed | Controlled environment curing |
| Finish Quality | Brush strokes, uneven sheen | Smooth, factory-grade finish |
| Durability | 1–3 years | 8–10 years or more |
| Cost Efficiency | Appears cheaper but short-lived | Long-term investment with fewer repaints |
Pro Tips to Avoid Cabinet Painting Disasters
-
Label doors and hardware before removal for easier reassembly.
-
Maintain consistent brush or spray direction for even finish.
-
Avoid painting in humid conditions; moisture slows curing.
-
Use tack cloths between coats to remove fine dust.
-
Inspect surfaces under bright light before final coat.
-
Choose ecolabels on paint and standards on greener products to ensure healthier indoor air quality: EPA Greener Products.
Common Questions About Painting Cabinets
Q1: Can I paint over existing cabinet paint without sanding?
A: Only if the existing finish is flawless and a bonding primer is used. Light sanding is always recommended for long-term adhesion.
Q2: How long should I wait before reattaching hardware or using the cabinets?
A: Wait 7–10 days for most paints, 14–30 days for alkyd-based systems.
Q3: Do I need to seal painted cabinets with polyurethane?
A: Not always. High-quality enamel systems often don’t require sealing, but high-traffic kitchens may benefit from a clear protective topcoat.
Q4: What’s the most durable cabinet paint finish?
A: Semi-gloss and satin finishes balance durability with easy cleaning.
Q5: Is hiring a professional painter worth it for cabinets?
A: Absolutely. Professional cabinet painting ensures proper surface prep, spray application, and controlled curing that most DIY setups cannot match. [Company] in Buckhead specializes in these professional techniques.
Avoid the Pain, Enjoy the Perfection
Cabinet painting may appear simple, but it involves multiple technical layers of preparation, material knowledge, and finishing techniques. The five fatal errors—skipping degreasing, wrong primer, poor paint choice, rushing curing, and skipping topcoats—can all be avoided with careful planning and professional methods.
For homeowners in Buckhead, GA, partnering with a professional cabinet painting service like Oakcliff Painting ensures long-lasting, factory-smooth results without frustration. Patience, precision, and the right materials transform worn cabinets into surfaces that look and feel brand-new.